

Most facilities don't fail an inspection because of one dramatic problem — they fail because of a dozen small ones. A faded main switch label. An isolator tag that was never replaced when the inverter changed. A pump nameplate a labourer wrote over in marker eighteen months ago. None of it looks urgent day to day, and all of it gets flagged the moment someone walks the site with a checklist and a torch.
Here's that checklist — the same walk-through we'd do ourselves before quoting a label refresh for a site. Run it before your next electrical inspection, WHS audit, or insurance assessment, and you'll fix the easy stuff yourself instead of paying for a return visit.
1. Start at the switchboard
This is where inspectors start too. Check:
- Main switch and isolator labels are present, legible, and use the correct colour convention for their function (see our breakdown of switchboard label colours under AS/NZS).
- Circuit labelling matches the switchboard schedule — a relabelled circuit that was never updated on the label is one of the most common findings on a site audit.
- RCD test labels are current — not just present, but showing a test date that's actually within the required interval (our RCD labelling guide covers the intervals).
If the switchboard is the kind with a laminated directory sheet taped inside the door, that's usually the first thing to have faded, torn, or gone missing entirely.
2. Check every isolation point
DC isolators, AC isolators, and any point someone would use to isolate power before working on equipment all need clear, permanent labelling — not just because it's required, but because it's the thing that keeps someone safe during an isolation. Go around the site and check:
- Every isolator is labelled with what it isolates, not just "isolator".
- Labels are still readable from normal working distance, not just up close.
- Nothing has been added since the last label run — a new isolator installed last month with a handwritten paper tag is an easy fail.
Our main switch and isolator labelling guide has the specifics if you're not sure what a given isolator needs to say.

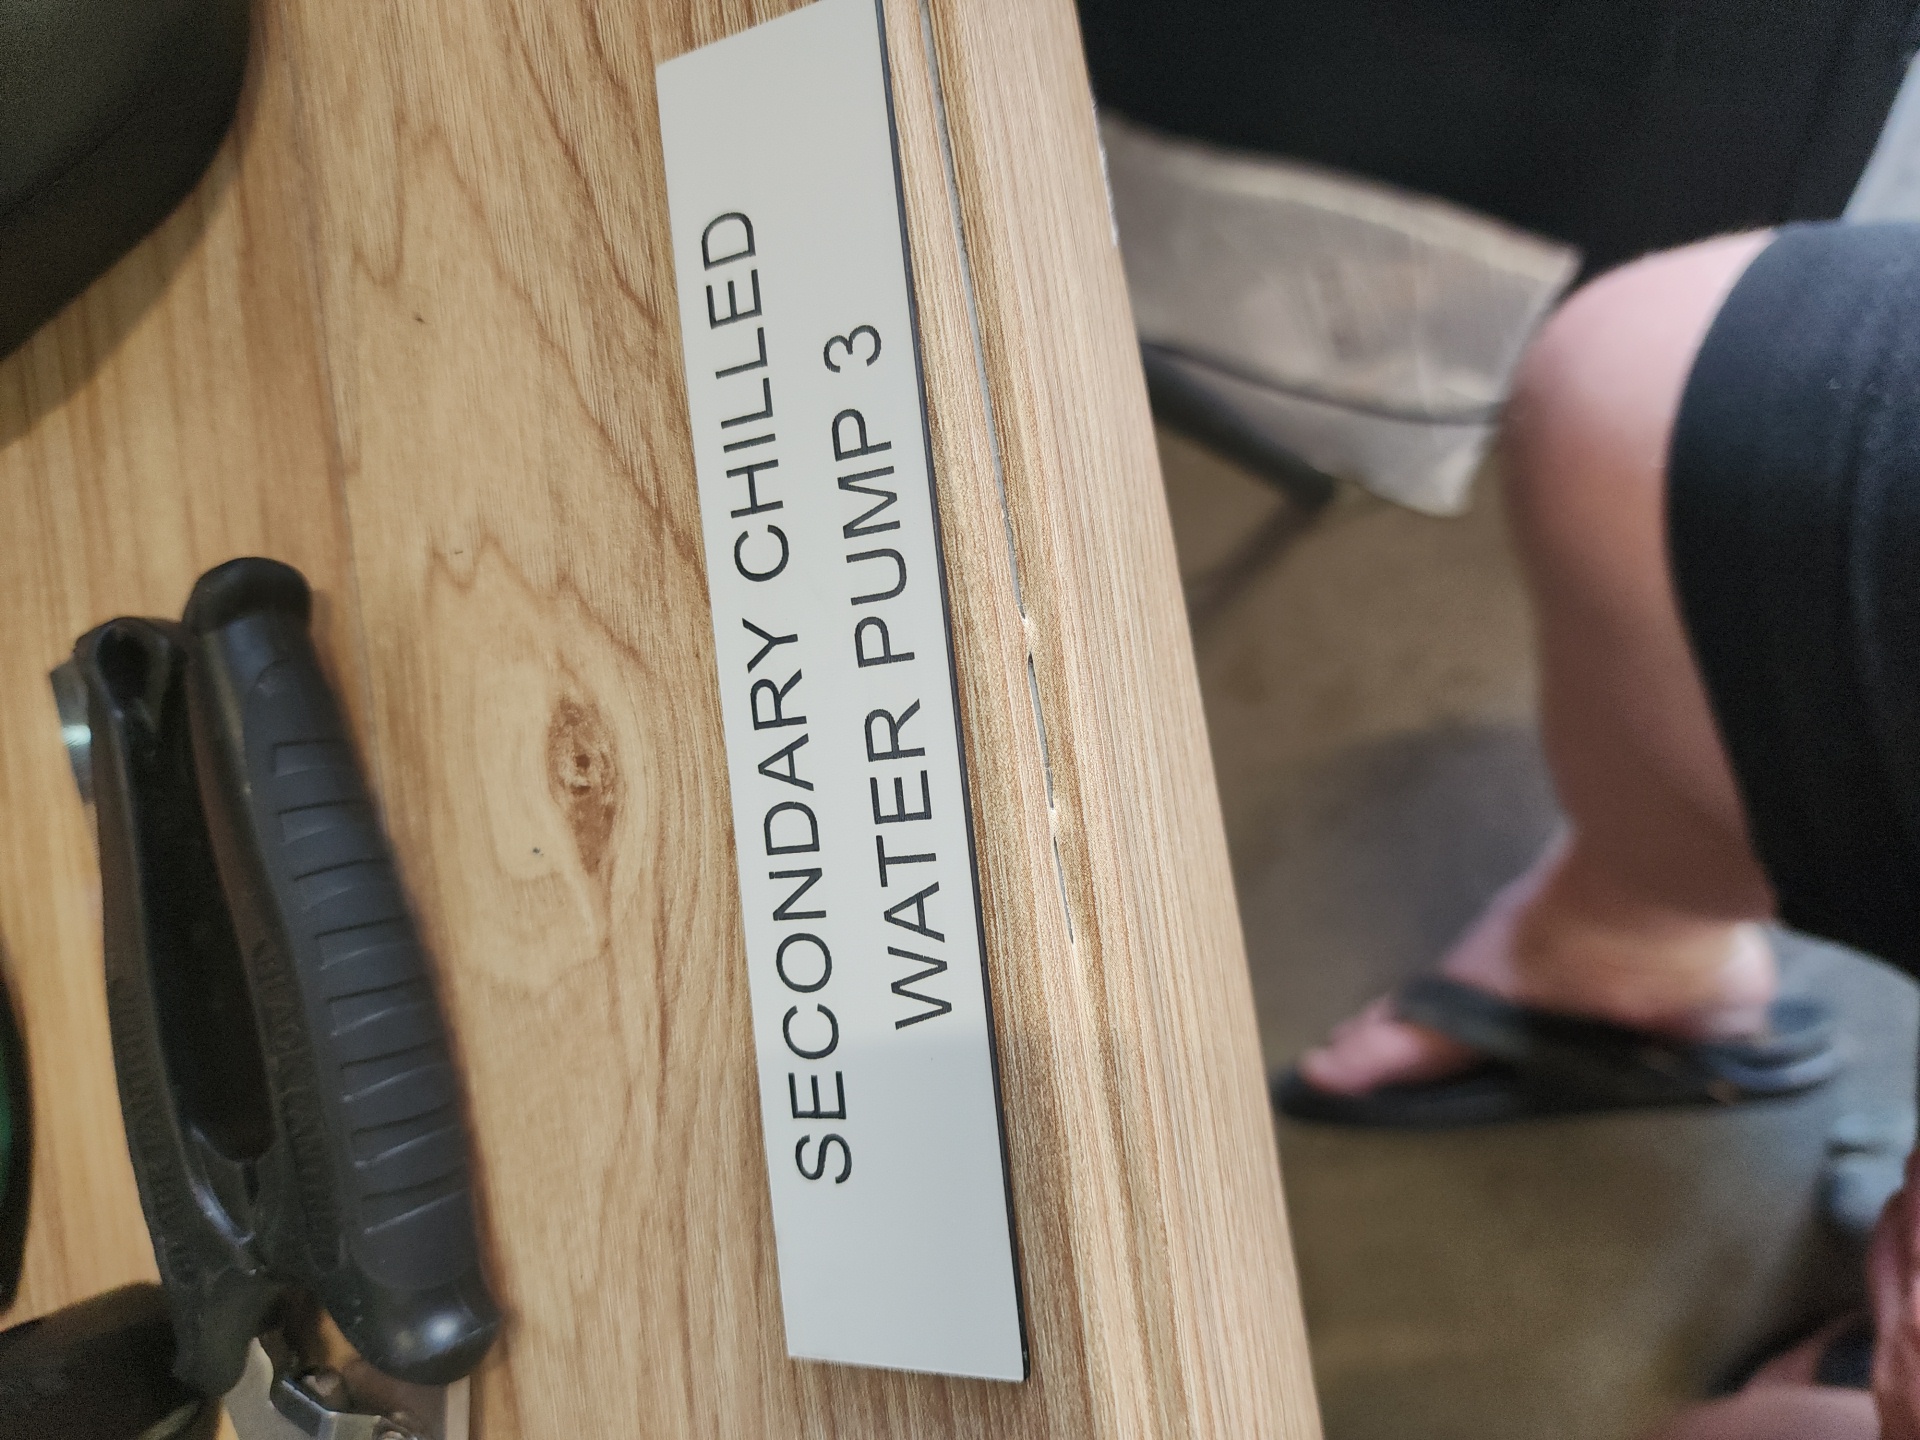
3. Walk the plant room
Pumps, motors, cooling towers, compressors — anything with a nameplate should still have one that's legible and attached to the actual equipment it describes, not sitting on a shelf nearby because the original mounting broke. Look for:
- Nameplates that have yellowed, cracked, or had their text rub off — a sign the original label wasn't rated for the environment (heat, oil, UV through a skylight).
- Equipment that's been relocated or reassigned since the label was made, so the label no longer matches what it's attached to.
- Asset numbers that don't match your maintenance register — worth checking against whatever system tracks servicing, not just eyeballing the tag (see our guide to asset tags and equipment ID).
4. Don't forget what leaves the building
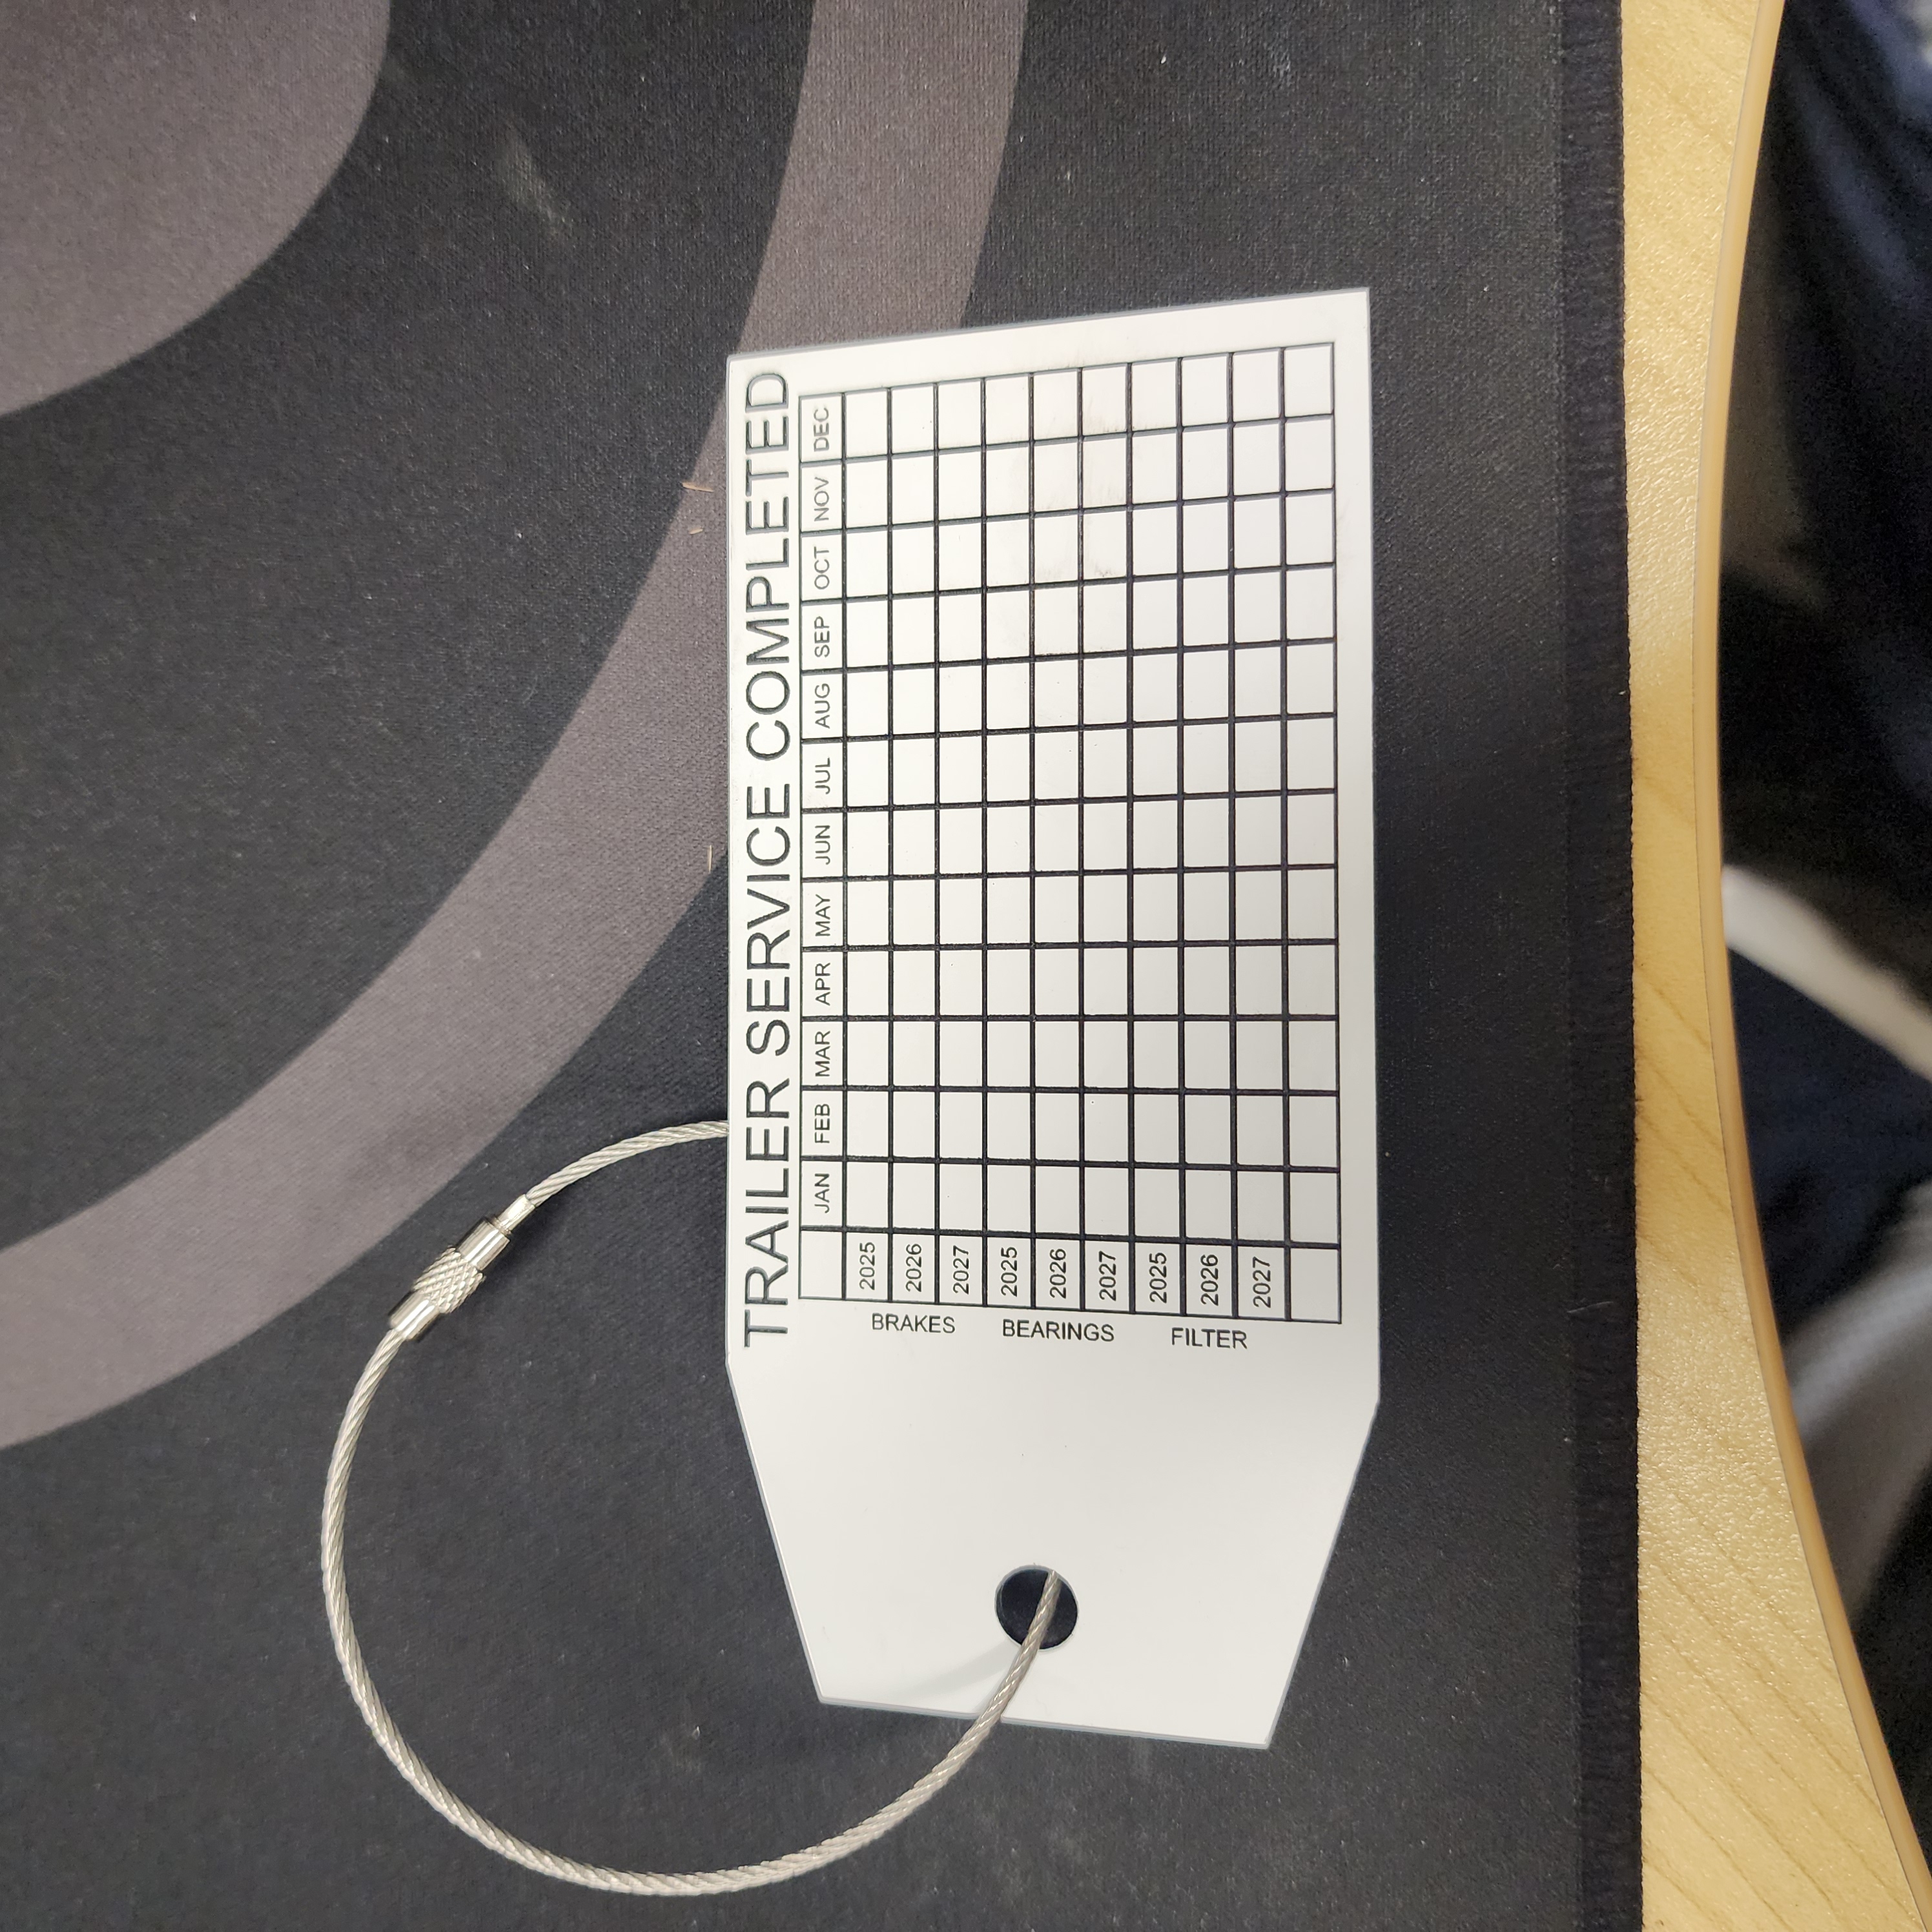
Trailers, site vehicles, portable plant, and hired equipment carry their own labelling obligations — service intervals, load ratings, isolation points — and they're easy to overlook because they're not part of the fixed-site walk-through. A tag that tracks service history (brakes, bearings, filters, whatever's relevant) attached with a stainless ring will outlast a sticker by years, and it means the next person to service the trailer isn't guessing.
5. Ask why a label failed, not just that it did
When you find a label that's faded, cracked or missing, it's worth asking why before simply reordering the same thing. Printed labels — inkjet, laser-printed paper under laminate, or thermal-transfer tape from a handheld printer — fade and lift over a working life measured in years, not decades, especially outdoors or near heat. Engraved traffolyte and anodised aluminium don't have that failure mode, because the marking is cut into the material rather than printed on top of it. If the same label keeps failing the same way in the same spot, that's a material problem, not bad luck.
Fixing what you find
A site audit like this usually turns up a mix of quick wins (a faded main switch label) and a genuine backlog (a plant room that hasn't been relabelled since it was commissioned). Either way, the fix is the same: get accurate replacements made in a material that won't be back on next year's list.
Our online label designer makes this fast even for a long list — set your size and colour convention once, then run through circuit names, isolator tags or asset numbers one after another without re-configuring the layout each time. No minimum order, so a five-label fix costs what it should.
This checklist is a practical starting point, not a substitute for a qualified inspection. Confirm specific requirements for your site against the relevant AS/NZS standard and your regulator.